Bluetooth iPod Classic
Intro
YouTuber DankPods made a video about how he created a bluetooth iPod, his channel really made me want a classic so I bought a very battered but “working” 6th gen iPod Classic from eBay for a decent price and got to work adding bluetooth to it.
During my research I also found this instructables guide that showed it was indeed doable without sacrificing the jack, I just wanted to do it a little differently.
How did I do it?
The first step is opening the damn thing, ifixit rates it as very difficult. For the first times opening 6th gen iPods I certainly agree. I followed the steps found here using 4 iflash flexible pry tools. I followed along up to the removal of the hard disk.
I managed to do the required soldering with the motherboard inside the frame, but it would be a bit easier if you took it out.

Depending on what bluetooth board is used will change what needs doing on that side, but the iPod side stays consistent. I used the “TaoTronics 2-in-1 Wireless 3.5mm Adapter”.
To prepare the bluetooth board, I broke open the case and desoldered the battery and soldered a wire onto each of the pads, they will end up going to the iPod battery.
These cheap boards do not take well to being pulled on, I accidentally pulled off both of the battery pads when desoldering it and had to trace to the first points the battery connected to. I’d recommend using black and red wires, unlike me, who only had odd bits of various colours.
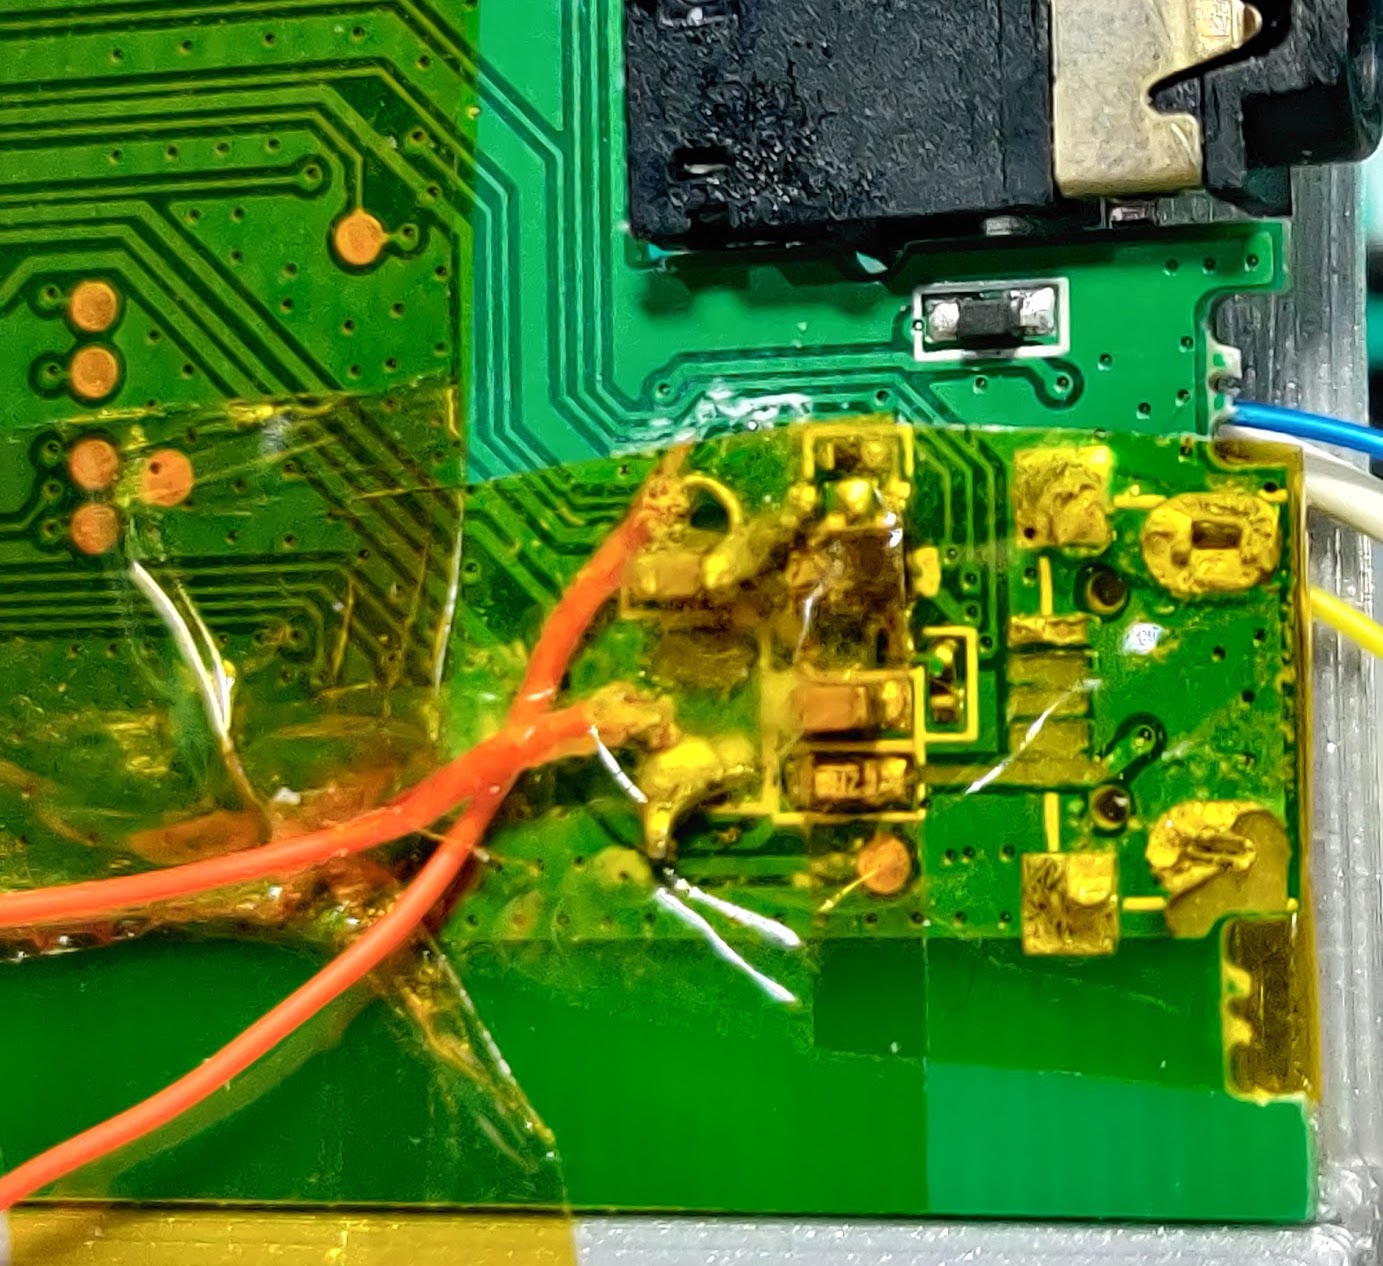
Using an audio signal generator, I identified which pins surrounding the headphone jack were the left and right channels and soldered 2 wires to them. I don’t think the signal generator was necessary, but it was fun. I then probed around to find the ground and soldered a wire to that too, these wires will end up intercepting the audio being sent to the headphone jack on the iPod.
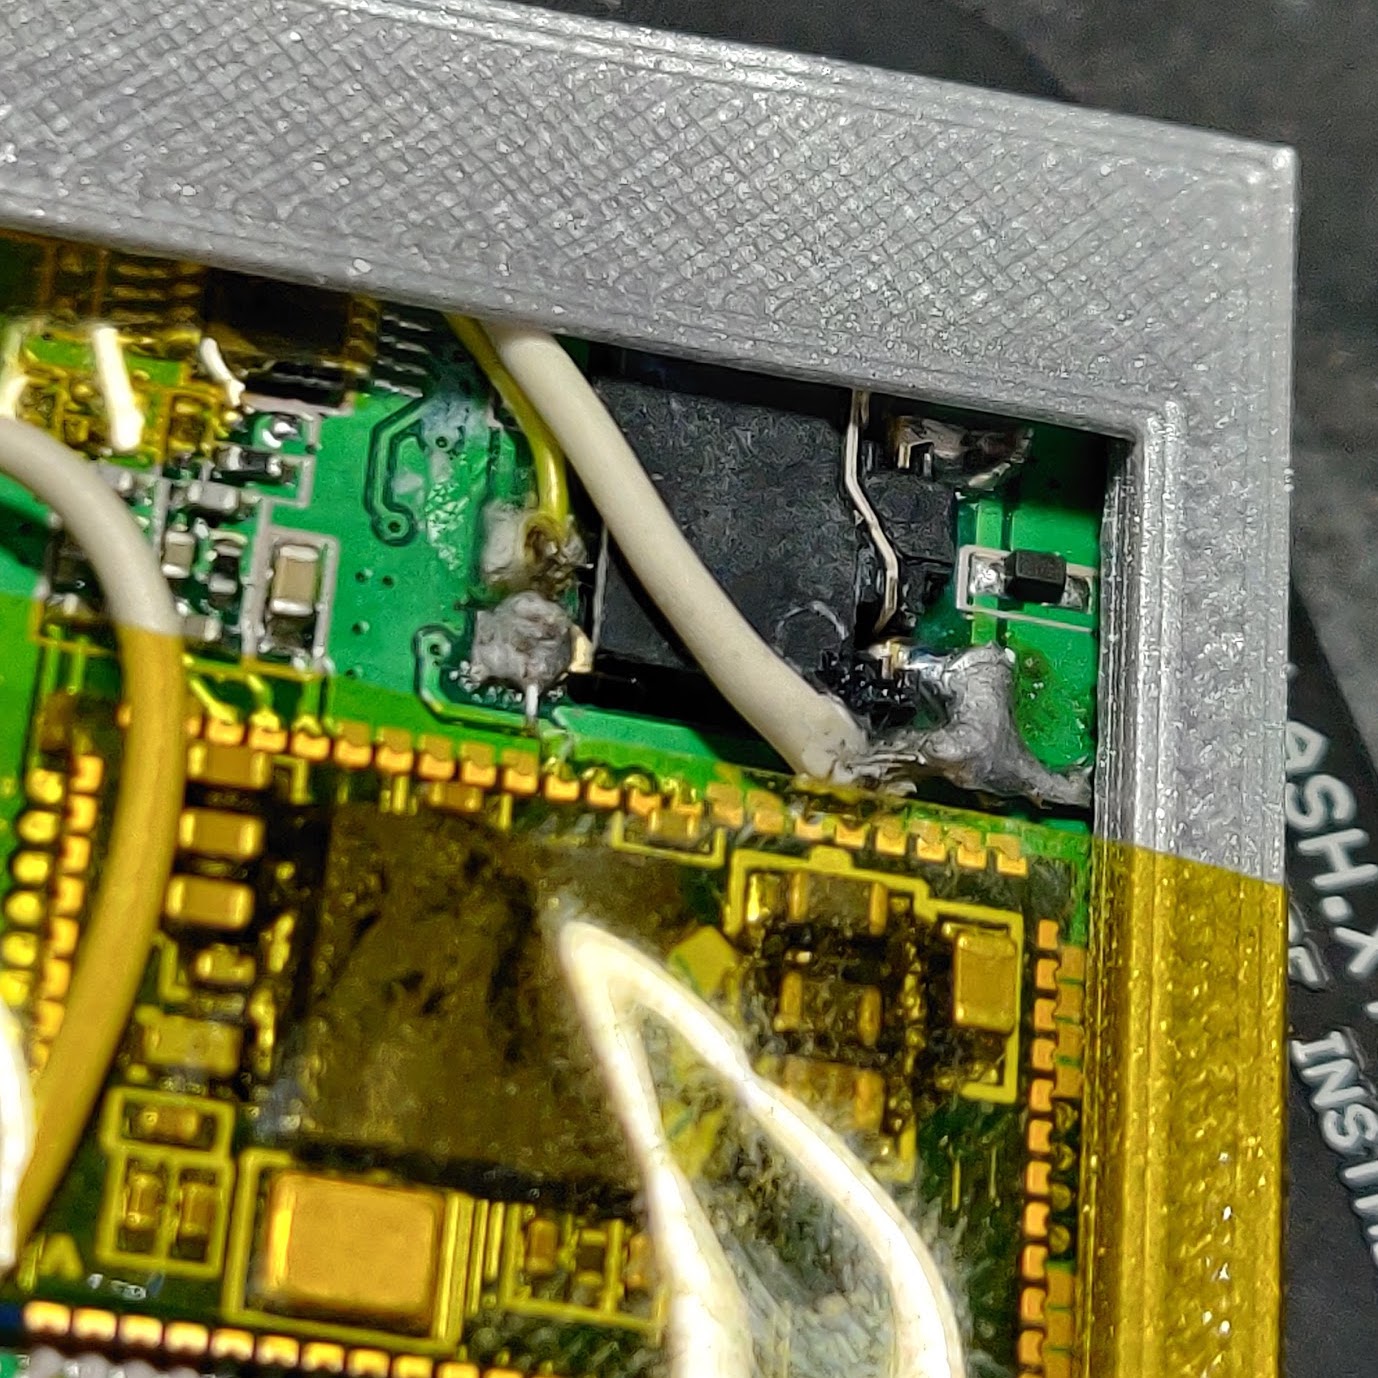
To get power to the bluetooth board I connected the 2 battery wires to the iPods battery connector on the mainboard, I identified them using the writing on the mainboard and through visually following the traces on the battery ribbon cable.
The spot on the connector is positive and is the leftmost pin. The resistor is directly connected to the ground pin on the connector and I found it much easier to solder to.
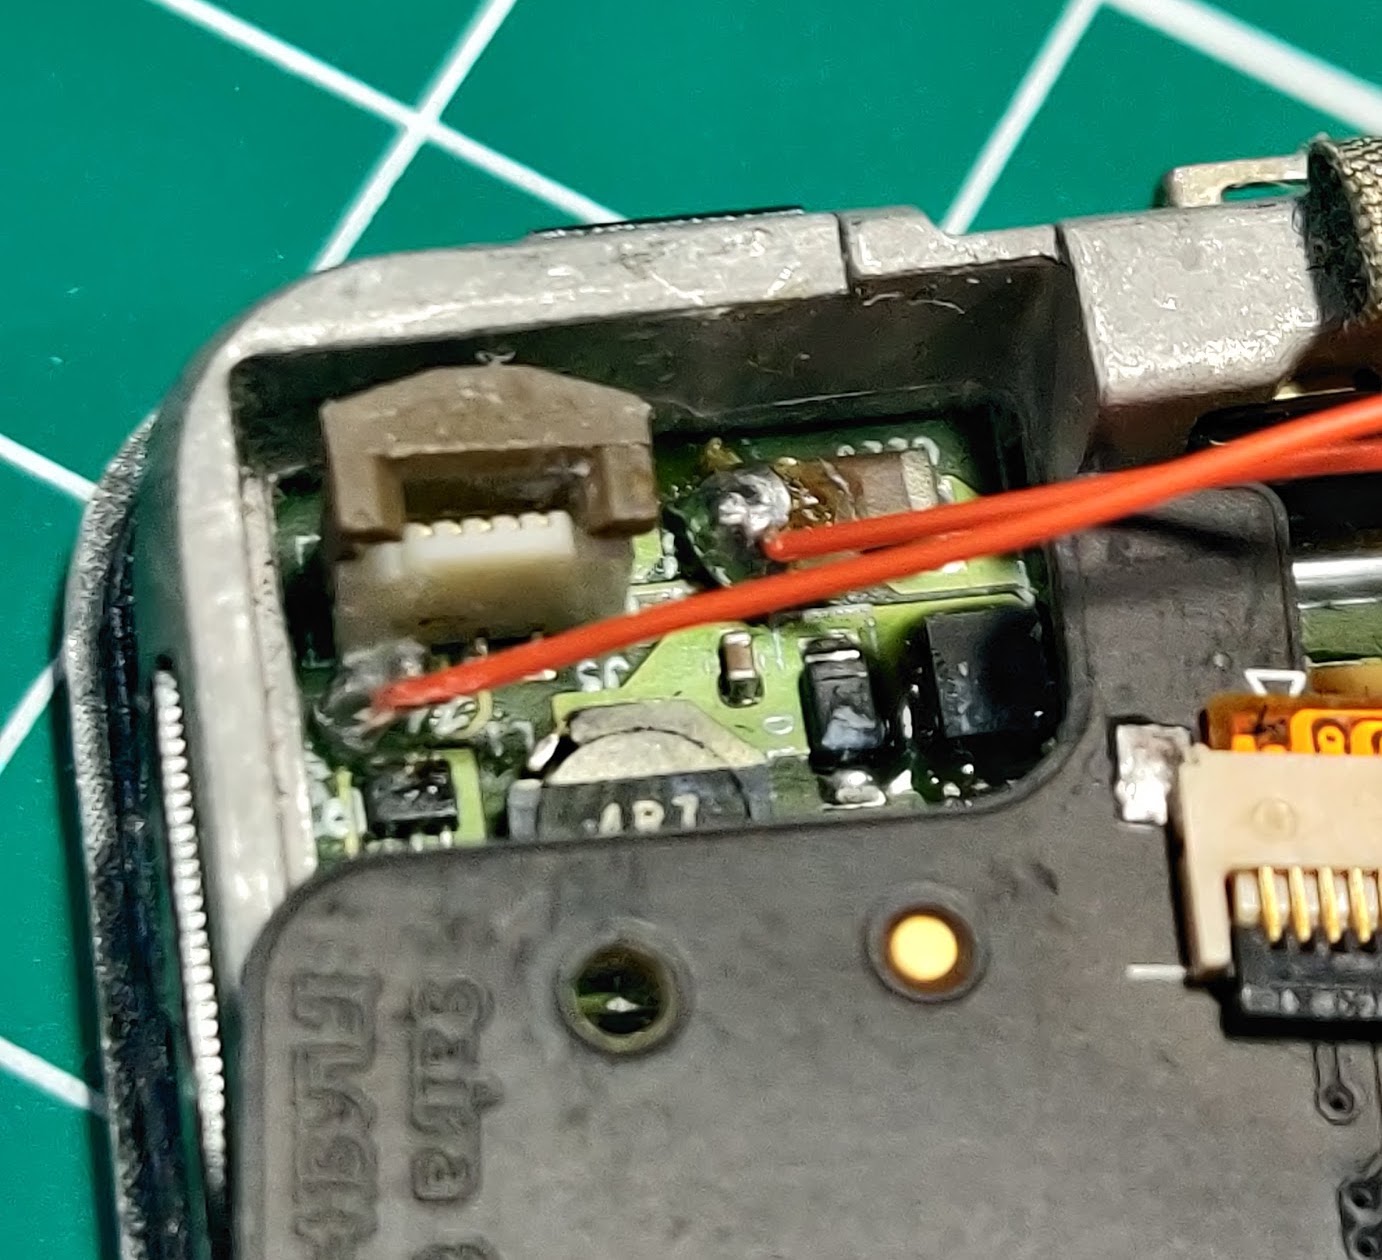
Getting audio to the bluetooth board required the removal of the battery and headphone jack assembly from the rear cover of the iPod, in doing so I nicely tore the hold switch ribbon in half and had to order a new one from eBay.
Thankfully, this didn’t stop me using an audio signal generator to identifiy the left and right channels, and a bit of guesswork for the ground on the headphone jack. I then used a multimeter to sound out where they came out on the main board. Finally, I soldered the three wires from the bluetooth board to the corresponding spots on the iPods main board.
I wouldn’t recommend having the ribbon plugged in when soldering! Nor would I recommend using different guages of wire like this, but it’s all I had at hand at the time.
In this case, blue is left, yellow is right and white is ground.
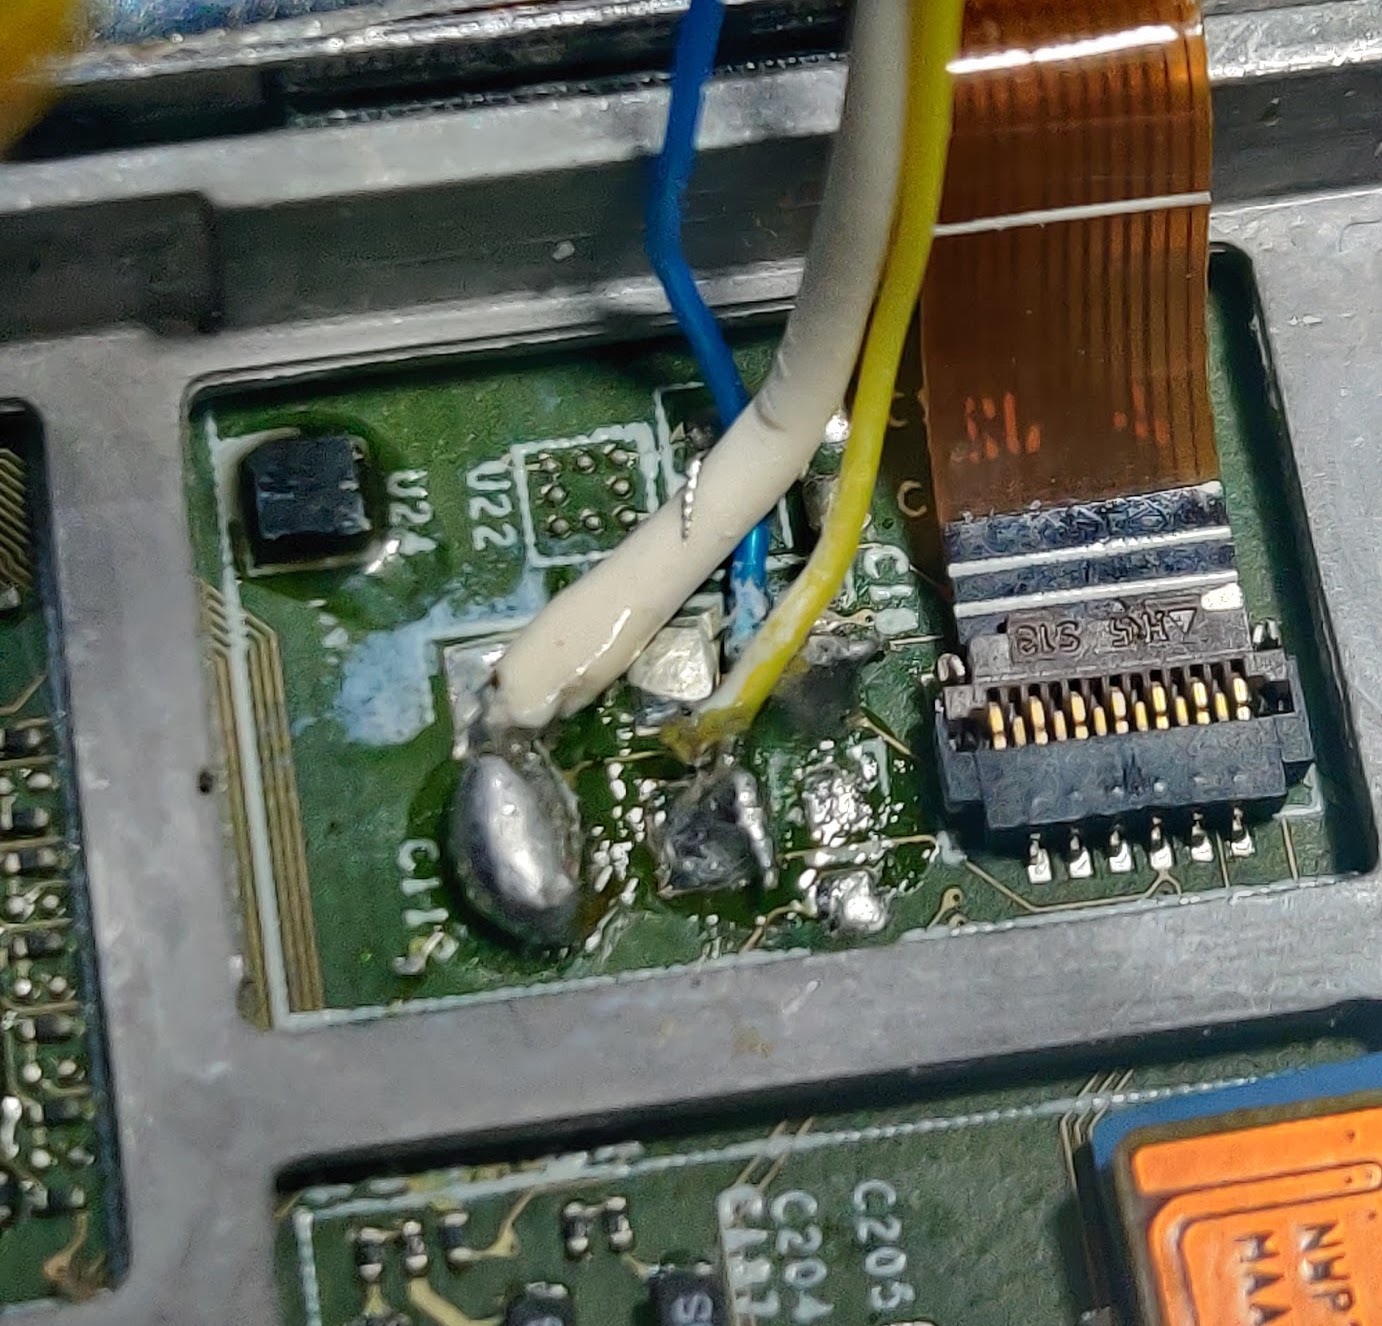
Next up is to install the iFlash-Quad using the instructions on the manufacturers website. This is done mostly to free up a bunch of space where the disk would be, but also a large capacity iPod with solid state storage is just plain cool.
Now that everything is soldered up, it’s a great time to test. Magically, it worked almost perfectly for me, I just had the channels backwards, so I swapped those around and voila!
However, there is the small problem of not being able to access the button on the bluetooth board once the case is closed. I went for drilling a hole on the back cover of the case in a strategic location that matched up nicely to where the board sat inside.
I designed and printed a simple bracket and button to hold the bluetooth board above the surface of the backplate and to finish off the look decently well. It went through 5 or so iterations to get to something that was functional and nice to use. I had to do some sanding to make sure the button sat below the level of the case to stop it being pressed when using the iPod on a flat surface.
It’s not the tidiest job but it certainly does the trick.
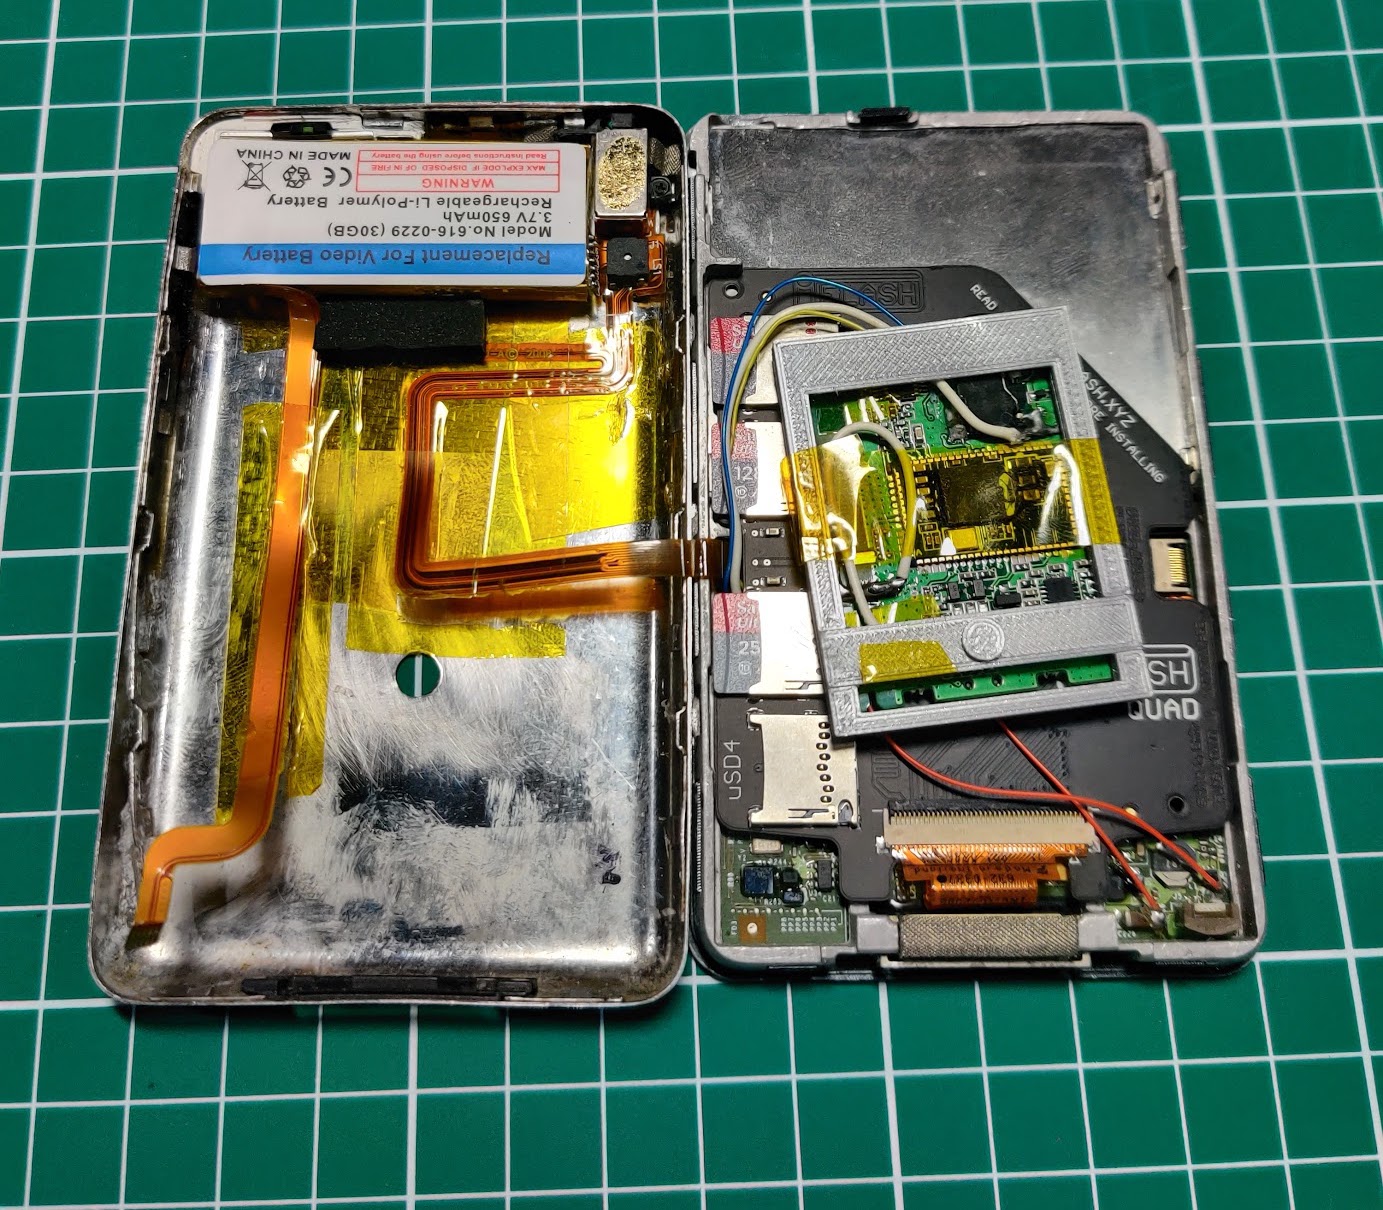
Here’s a shot of the back!
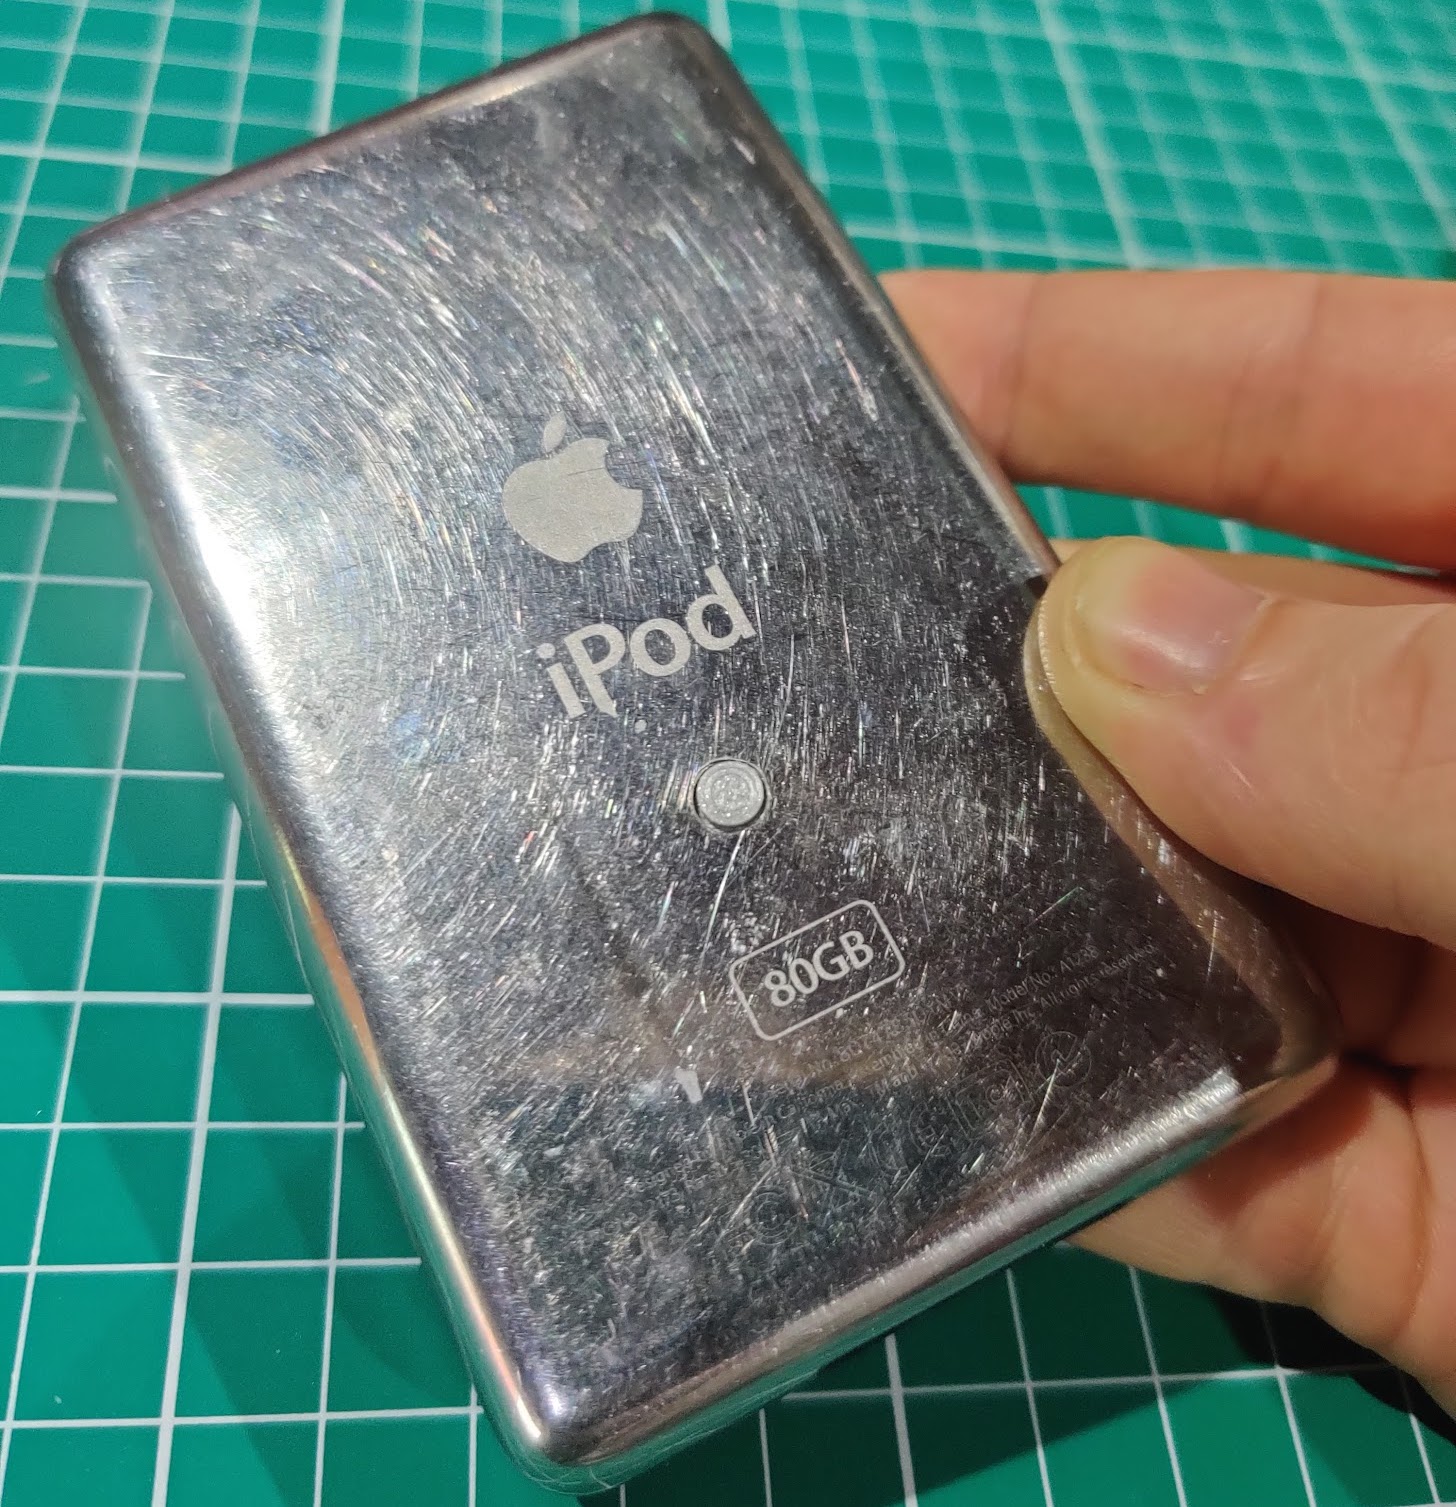
Hearing sound coming from an iPod classic in a pair of bluetooth headphones is ace!
Conclusion
Disadvantages
- Range is very bad with the fully metal case, it is usable with bluetooth headphones from a pocket but that’s about it, a 5th or 5.5th gen iPod might be better because of it’s plastic front.
- My particular bluetooth board doesn’t automatically shut itself down when there is no connection for a while, so it accidentally discharged the battery to a point where rockbox seemed to corrupt itself.
Advantages
- It’s an iPod with bluetooth!
- Sound quality is very good assuming it stays in range.
- With the button being on the back, it looks like a totally normal iPod.
I had a lot of trouble fitting it in nicely and was quite dissapointed with the range, but am really impressed with the fact that it works at all. I would certainly recommend doing something similar to an iPod if you are planning on modding one anyway.
I learnt I am not great at soldering small things and have decided to invest in some better tools to try and prop up my lack of skill.
In the future I’d like to create a custom PCB and hopefully do something to improve the range. I’d also like to use a thick back so I can have a large capacity battery to nicely finish off the package.
Thanks for reading.